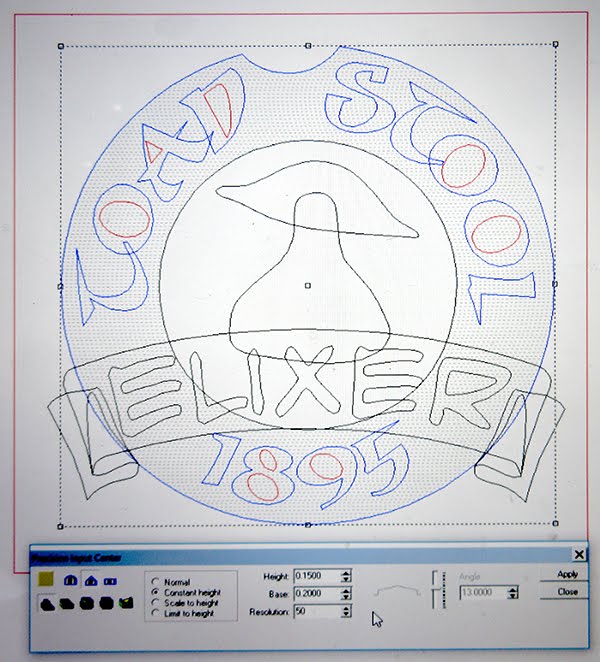
As always I checked my work with a render. a quick check now is fast where if we make a mistake and have to fix it later that gets to be a lot more work.
I then used the outer and inner vectors to modify the sign shape relief. I needed to use a modifier because of the unusual shape (the indent at the top of the sign)
I checked again with a quick render.
I then went on to adding texture. I first added another modifier relief around the sign. If I hadn't done this when I selected the lettering outline and the base relief it would have only added the texture to the inside of the letters. The oval modifying vector reversed this effect. I used one of the textures from the TEXTURE MAGIC collection called splotches. I entered a value of 0.15"
I did another render check to make sure the texture went where I wanted. All was good.
Then it was time to raise the border of the lettering. I selected the base relief and the lettering border vectors and entered a value of 0.2" making sure I used the ADD TO command.
One more render check. All OK.
Then it was on to the bevel lettering. Because the lettering has thick and thin bits the constant height is a better option with the bevel tool. I kept the height small at 0.15"
Another render check.
I then selected the mushroom vectors and used the dome tool to create the fun shaped reliefs. At this point I realized that I had made a mistake in the design. Since this was to be a two sided sign the top round cutout needed to line up on both sides. It was an easy fix as I just rotated the circle until the cutout was at the top. I would modify the bracket later.
Then it was time to start in on the banner.I started with the lowest fold as a flat relief at 0.5" high/
The middle fold was next at 1" tall.
And the top section of the banner was 1.5" tall. This is the thickness of the piece of Precision Board which we would routed from.
I checked the heights of the various reliefs and nudged them up or down as needed using the up/down arrow keys. I then combined the separate reliefs into one.
And one final render check was done to make sure everything looked good.
The banner with ELIXER on it was done separately. to create this banner I first created a flat relief.
I then modified this relief with the oval vector I had drawn around it using the dome tool.
I then used the subtract from along with the dome tool to drop the lettering into the banner.
I tool pathed the sign using a 3/8" ball nose bit for the rough (at 50% overlap) and then a fine pass using a 1/8" ball nose bit (at 80% overlap).
Here's the sign fresh off the MultiCam and the two pieces mocked up together.


