With the big features now largely completed it is time to move to the next phase of the WhistlePunk Hollow Adventure Golf project. And that would be the signs, which are routed from Precision Board of course. During our recent workshop one of the re-occuring questions was in regard to the framework of structure in our signs. Precision Board is a wonderful material in so many respects but it needs a little boost as far as structural and mounting.
I'll be using two types of structure and internal support in this series of signs so I decided to share how we typically do this in our shop. The signs are relatively small so the structure will reflect that.
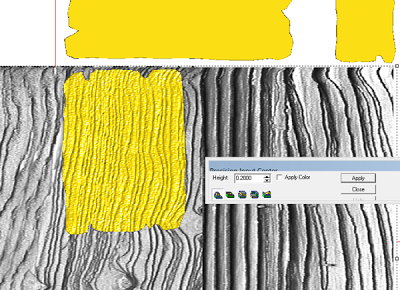
The signs were designed in EnRoute as always. Here's that process. I typed out the numbers and lettering in my own font called 'quick draw' (font is available at www.letterheadfonts.com ) I then drew out the sign shapes using the draw tool in EnRoute. For the small signs I only drew three shapes. I'll make six of each to get the 18 signs I need.
Then I created copies of each relief and flipped them. These will be the backs of the signs.
Lastly a slightly domed letter was added to the relief.
The sign face and back files were then tool pathed and sent off to the MultiCam. All were routed from 1" thick 30 lb Precision Board.
For the inside parts that would accept the sign structures and support I would use 3/4" Precision Board. I used the same vectors to create my cutting patterns but added a square shape to the small signs that would be cut out and replaced with 3/4" plywood. The 18th hole sign would get some 5/8" steel rod to allow it to be welded to the steam donkey.
After the signs were cut I inserted the 304" plywood as I glued up the signs. This meant our mounting screws would have sturdy material to bit into instead of the HDU which does not hold crews super well.
The 18th hole sign got a 5/8" steel rod welded structure laminated inside with two rods protruding allowing for secure, easy and quick mounting to the steam donkey. We used one part PB Bond 240 glue form Coastal Enterprises.
Stay tuned for more signs and mountings...
-dan


