On the sign I last posted I forgot to take pictures of the assembly process, but luckily there was a second identical sign. Since I designed the signs to slip into the framework of the lighthouse sign they needed four legs to protrude out of the back. The signs are routed in three layers with the center one inch thick layer having slots in to to accommodate the framework. With the sign face down and the second layer in place I put the pieces of steel into the slots and tacked them up. This made things real accurate. I then put in some temporary spacers and set the back of the sign on those. The short pieces of square tubing were then dropped through the 3/4" thick sign back holes and welded into place. Once the frame was completely welded up I cleaned the layers up and put it back together one last time only with one part PB Bond 240 (Coastal Enterprises)- a one part urethane glue that is activated with a spritz of water. I then used screws and clamps to keep everything in place - FOREVER.

Once the glue was dry I used my die grinder to even things up and remove the excess glue from the edges. A subtle texture was added to the sign edges and back side at the same time. Some Abracadabra sculpting epoxy was used to fill the screw holes.
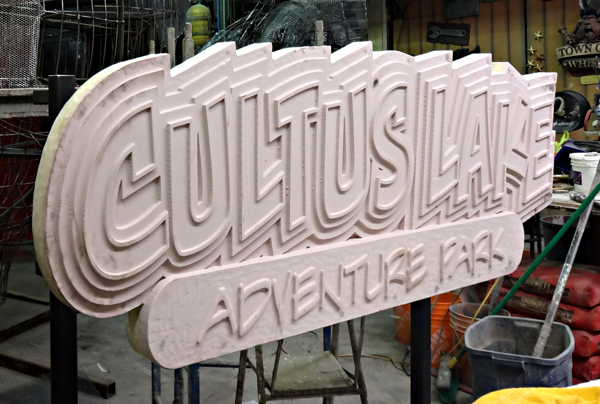
I also welded up a quick holding stand that will safely and conveniently hold both signs (back to back) for painting and transport.
The signs are now ready for painting. They will be hung in place onsite late next week.
Stay tuned for the next sign that is already in progress...
-dan