WELCOME!

It is hard to believe that it was almost ten years ago I witnessed a CNC router in action for the very first time. I was fascinated and simply had to have one! Although I had been in the creative end of the three dimensional sign business for most of my life I didn't really know what I would do with one of these machines - but I just knew it could do fantastic stuff.

Along with the CNC router I discovered the wonderful material called Precision Board and the glues, primers and other companion products they offer. Since then we have gone through many tons of the material using it in most signs and projects we tackle. This journal will chronicle our many adventures both past, present and future. I'll talk from the perspective of someone who pushes these products to the creative limit on a daily basis. I'll be adding to the stories two or three times each week. -dan

Wednesday, October 5, 2016

Gnome pub sign step by step - part two

I created all of the routing files inside EnRoute. I started with some simple squares.


I then used the distort tool to wiggle up the lines nicely. In the old days this would be done by hand - now in EnRoute an automated and controllable function.


I used the offset tool to create inside lines spaced half inch from the originals. I then placed the lettering vectors. They were adjusted as needed (stretched or shrunk) to fit in their respective spaces.


I ten created a flat relief for the main sign.


The corner blocks were then created as separate flat reliefs.


I then depressed the centres of all of the reliefs


I created the vector shapes for a four leaf clover an a mushroom for the corner decorations. These will be just flat shapes for routing as I want to hand sculpt the final icons to make each corner distinctive.


Then it was time to try out a few of the new WOODGRAIN TEXTURES I would do the textures one board at a time - and all different. 


I then rotated the sign by 45 degrees and applied more wood grain bitmaps to the corner blocks.


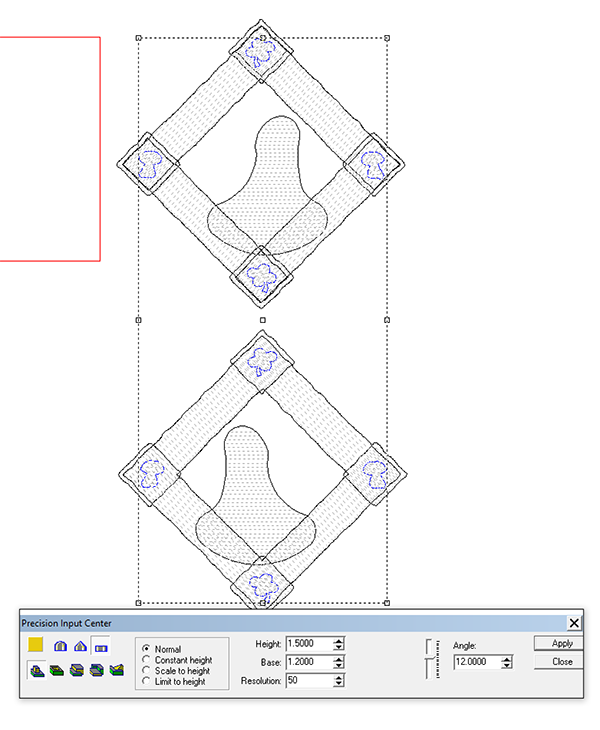
I then created a vector shape for the gnome and used the dome tool to create a relief. 


When I checked the render I saw it was a little high. This was easy to fix by simple going to the front view and dragging the top control box lower to slim it down. A quick check in the render showed everything was now fine. At this point I duplicated all of the files and then flopped one copy (Except for the lettering)  for the back side of the sign.


I built the lettering as separate reliefs and then MERGED HIGHEST


Then I created separate reliefs of the corner icons which were also then merged highest with the corner blocks.


With all of the reliefs finished it was time to combine all of the reliefs to finish this file.